AROMATIC AND MEDICINAL PLANTS: DRYING TECHNIQUES
aromatic plantsdo-it-yourselfdried herbsdried plantherbal traditionmedicinal plantspower supplyspontaneous collectionwild herbs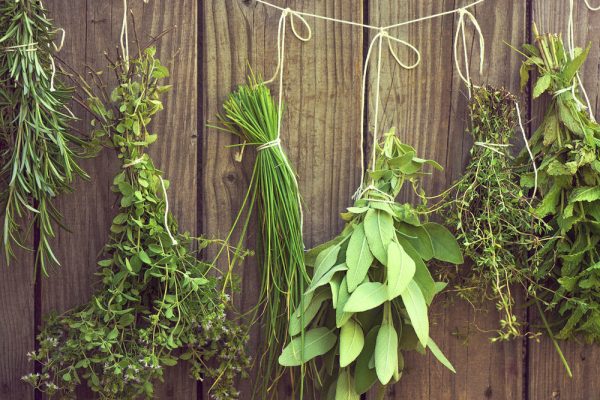
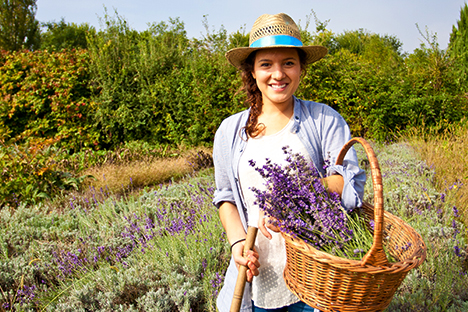
Are you drawn to the idea of making your own selection of culinary herbs, herbal teas, and medicinal plants? Then, don’t miss the first part of this guide to preserving wild plants: harvesting.
If you are ready for the second phase and would like to discover our tips for drying herbs, then enjoy your reading! We will cover in detail 3 techniques to best perform this method of preserving edible plants, and be able to take advantage of their properties even out of season.
Before moving on to the description of the distinct techniques, let’s review some common details of this step of plant preservation:
- Once the plants have been harvested, following the directions for sustainable and safe harvesting, prepare them for drying as soon as possible. Leaves, roots, fruits and flowers could easily rot or spoil if left for too long in closed bags or piled up.
- Before setting them out to dry, shake out branches and leaves and check each part of the harvested material thoroughly to make sure there is no soil residue or pests. The plant should look healthy and clean.
- It is not recommended to wash the harvested plant material as it may alter the preservation process and encourage the growth of mold.
- If you have any doubts about the origin and health of the plant, the advice is to avoid preserving it.
These rules are always valid, whether you use the plant for the preparation of macerated or infused oil or for the preparation of your dishes.
Let’s now focus on the 3 drying techniques. They are all valid and, if done correctly, guarantee excellent results.
DRYING NATURALLY 1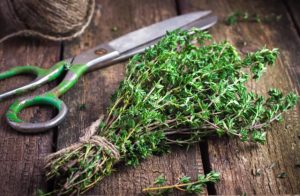

This is the most traditional technique, suitable for drying plants with branches and leaves, such as rosemary, thyme, basil, etc. It consists in making small bunches to be tied with kitchen string at the base, being careful not to tighten too much in order not to damage the branches and to allow air to circulate and dry the plant uniformly. Bunches should be hung with the leaves facing downwards, in a dry and airy place where direct sunlight does not reach. With this technique, drying times vary from 7 to 20 days depending on the type of plant.
DRYING NATURALLY 2
Another option consists in disposing the collected material on clean kitchen towels or in special baskets made of wicker or similar materials. In the second case, it is important that the basket (or container) is wide enough to allow the passage of air. It is advisable to change the position of branches, roots, leaves or flowers every 2-3 days, in order to make the drying process more uniform. Times, also in this case, range from 7 to 20 days.
DRYING WITH THE USE OF AN OVEN
If you do not have much space available and prefer faster techniques, using an oven might be the most suitable technique for you. Plants are spread on a baking pan covered with baking paper and are dried at a temperature of 40-50 degrees centigrade (104-122 degrees fahrenheit). Plants are spread on a baking pan covered with baking paper and are dried at a temperature of 40-50 degrees. During this process it is advisable to keep the oven door slightly open, so the temperature is always under control. Times vary according to the type of plant, therefore it is good to check often and to retrieve the tray when you notice the leaves begin to get a grey-green color.
 At this point, start organizing your pantry to make room for your herbs and medicines! Soon a new article with all the details to better store dried herbs and, why not, prepare jars to give to your friends.
ANNALISA PORRU
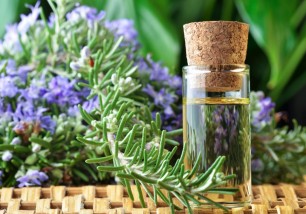
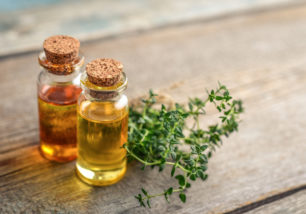
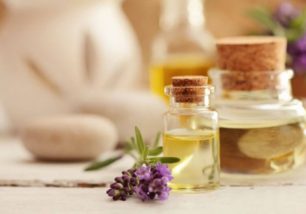
Other articles that may interest you:
Aromatic and medicinal plants: harvesting
Aromatic and medicinal plants: conservation
Herbal teas, infusions and decoctions: the differences and methods of preparation
 ESSENTIAL OILS: WELLNESS IN HOME
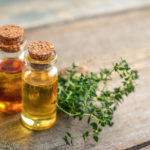 THYME ESSENTIAL OIL: USES AND PROPERTIES
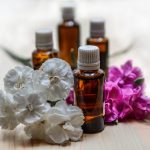 AROMATHERAPY: HOW TO CHOOSE AN ESSENTIAL OIL
 AROMATHERAPY: HISTORY
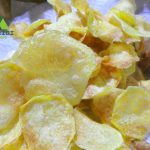 POTATO CHIPS WITH ROSEMARY AROMATIC WATER
 ROSEMARY ESSENTIAL OIL: CULTIVATION AND PRODUCTION
 NEEM OIL, FROM THE PLANT OF GOOD HEALTH
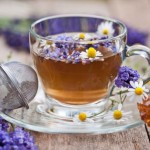 HERBAL TEAS, INFUSIONS AND DECOCTIONS: THE DIFFERENCES AND METHODS OF PREPARATION
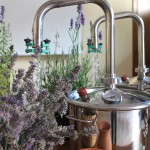 HOW TO MAKE HOMEMADE ESSENTIAL OILS
 HEALTHY HAIR WITH AROMATIC PLANTS
 THE GOOD NIGHT PLANTS
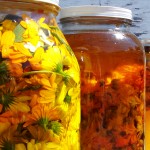 OLEOLITES: THE POWER OF HERBS IN OIL
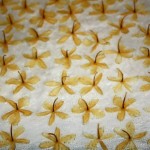 ENFLEURAGE: ANCIENT TECHNIQUE TO EXTRACT ESSENCES FROM FLOWER PETALS
 ESSENTIAL OILS AND ECOLOGICAL DETERGENTS FOR HOUSE CLEANING
 OIL FOR STRENGTHENING HAIR
 SCENTED BAGS WITH DRIED HERBS AND ESSENTIAL OILS
 PURIFYING AND CLEANSING HERBAL TEAS DO-IT-YOURSELF
 LEMONGRASS: ESSENTIAL OIL TO FIGHT TUMORS
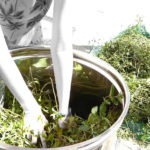 MINT ESSENTIAL OIL: CULTIVATION AND PRODUCTION
 CITRUS FRUITS AND ALZHEIMER’S DISEASE: NEW DISCOVERIES
 MINT ESSENTIAL OIL: USES AND PROPERTIES